ADVERTISING MEMBERSHIPS ONLINE
Introduction
IMPORTANT RULE: One important rule to consider before creating memberships is that patrons in your database can only belong to one (1) membership class at any given time. If you’re going to create multiple memberships, we highly recommend configuring them to really stand out from each other to avoid patrons desiring to belong to more then one membership at the same time.
Memberships enable operators to package a bundle of value (stored value and/or digital coupons) patrons can either buy OR access by joining for free. The Membership module is ideal for users who operate a loyalty and rewards program and seek to differentiate groups of customers for segmentation, benefits bundling or reporting purposes. In other words, you want to treat a certain group of patrons differently with special tiers/benefits not available to everybody else or you just want to charge patrons a fee to join your program.
You can advertise free memberships online OR sell them through a secured checkout page. Selling memberships online requires an Authorize.net account that is connected with your credit card processor. If you don’t have an Authorize.net account, please visit their website at authorize.net or contact your merchant services representative who should be able to assist with setup.
In order to properly configure and advertise memberships for sale over your website your webmaster will require access to the Membership Classes module of the back office. We recommend you create a user profile for your webmaster through the SETTINGS > User Accounts page with MARKETING security clearance
Setting up a New Membership Class
To setup either a FREE or PAID membership advertised online, be sure you're logged into the back office with either Marketing or Administrator security clearance and then perform the following steps:
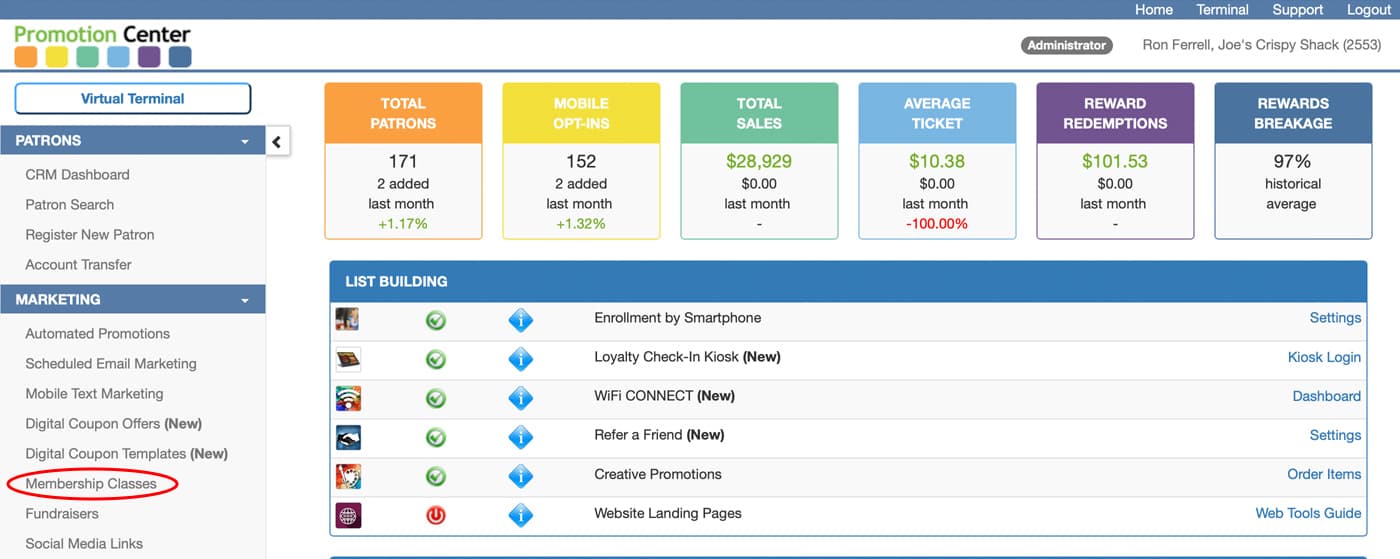
- Click Membership Classes under the MARKETING section
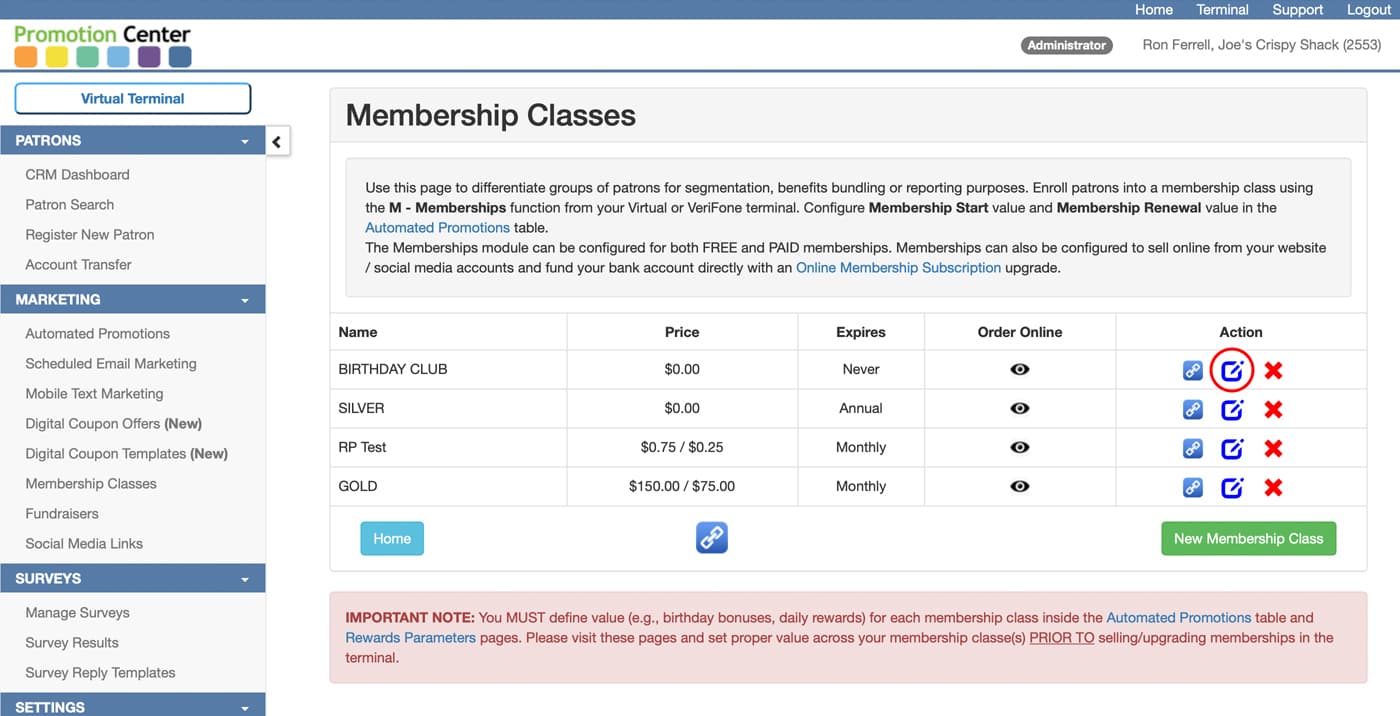
- Click EDIT in Action column for the membership(s) to be advertised online
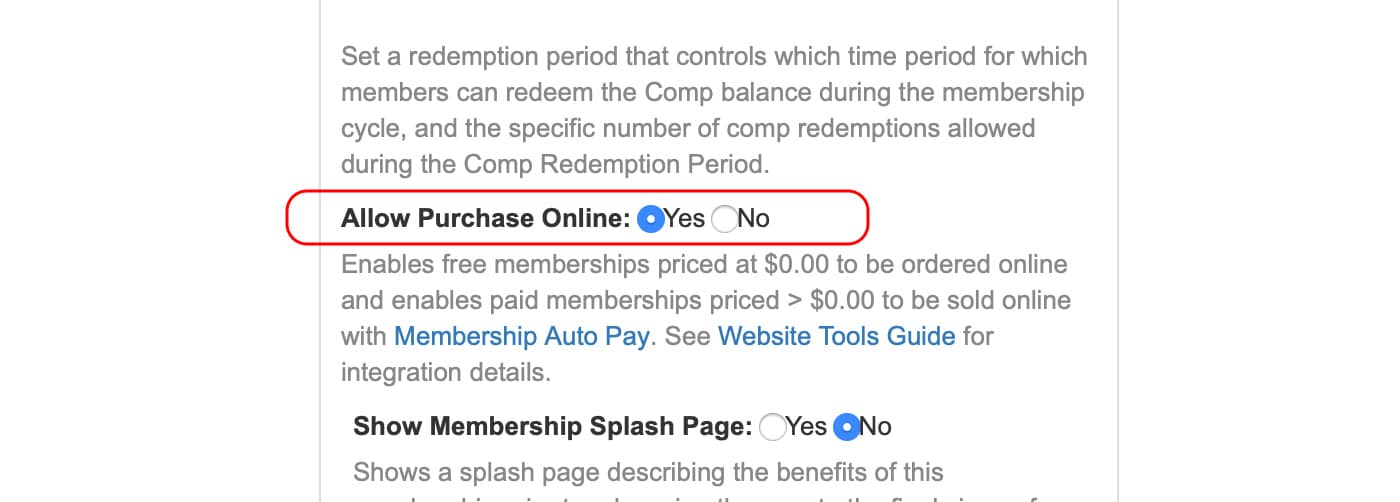
- Toggle Allow Purchase Online to Yes.
- Configure other details in the membership edit page as desired and save changes
- From the Membership Classes main page, select the LINK
 icon in the Action column next to a specific membership OR if creating a link to all memberships advertised online, click the large LINK icon at the bottom of the table.
 - Select desired link type (Bare URL, link, Embed, iframe) as desired. If you wish to limit the size of the membership widget (Embed option only), input a value in the 'Display width' field and click 'Compact view'
- If planning to advertise the benefits of joining or buying this membership on your membership splash page (that auto feeds from the database), please proceed to the next section “Creating Value for a Membership Class”.
- Test the link layout on your website.
Creating Value for a Membership Class
The value for a membership class is configured in a different page in the MARKETING section. The value created during these steps auto populates as bullet point benefits on your membership splash page if the Membership Splash Page is toggled to Yes in Membership Class edit page.
Please perform the following steps when ready to create the value patrons are entitled to when receiving this membership.
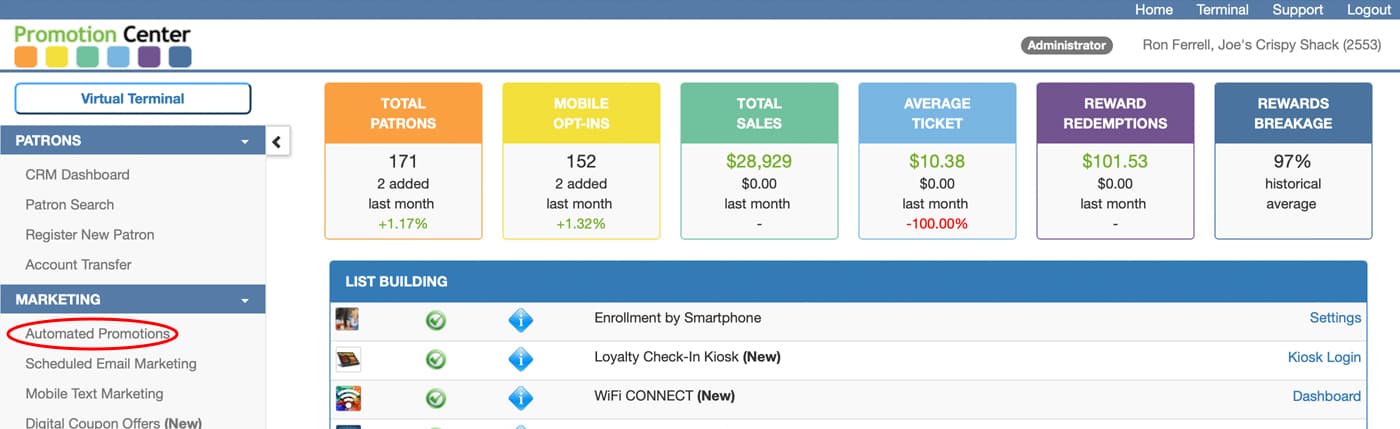
- Under the MARKETING section in the left hand navigation, click Automated Promotions.
- Scroll down the table to the rows that begin with the “M”s and look for Membership Start. This is the promotion that controls the benefits issued to patrons when they first order or buy the initial membership in Month 1 or Year 1 for example.
- Click either +New Bonus to create stored value bonuses that fund the patron’s balances when this membership is ordered or purchased AND/OR click +New Coupon to add “Show & Save” redeemable digital coupons that will send to patrons inside the membership confirmation email or text message after this membership is ordered or purchased.
- When selecting +New Bonus we recommend you set the Expires value to “Expires with Membership”. This setting will instruct the system to automatically deduct any unused stored value when the membership expires.
- Click the EDIT
 icon next to Auto Email Message and customize this campaign as desired which will control how the membership start confirmation email will look and feel to patrons upon receipt. Please note the Membership Start auto email and auto mobile text notifications are membership agnostic and designed to work for all created memberships (if there is more than 1 added to Membership Classes page).
 - Optionally, click the EDIT icon next to Auto Mobile Message and customize the text message that will deliver to patrons who order a membership. The Enabled checkbox must be enabled for this campaign to send.
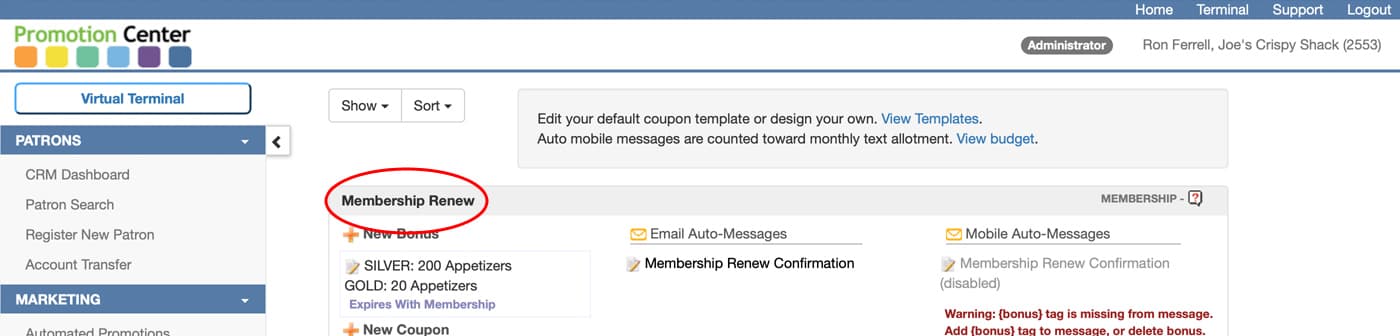
- If applicable, repeat above steps for the Automated Promotion row entitled “Membership Renew” which controls the benefits and messages patrons receive when memberships are renewed (Month 2 or Year 2 for example).
- If your membership includes stored value rewards, visit SETTINGS > Reward Parameters and configure the cash back or milestone rewards patrons with this membership are entitled on a daily basis.
Enabling Memberships to be Sold Online through Authorize.net
For merchants who want to sell memberships online and fund their bank account directly with membership fees you will need to request the Membership Auto Pay feature in your account and setup an Authorize.net account. Authorize.net is an online gateway that connects with your credit card processing account.
Configuring API Login ID and Transaction Key from Authorize.net for Direct Funding
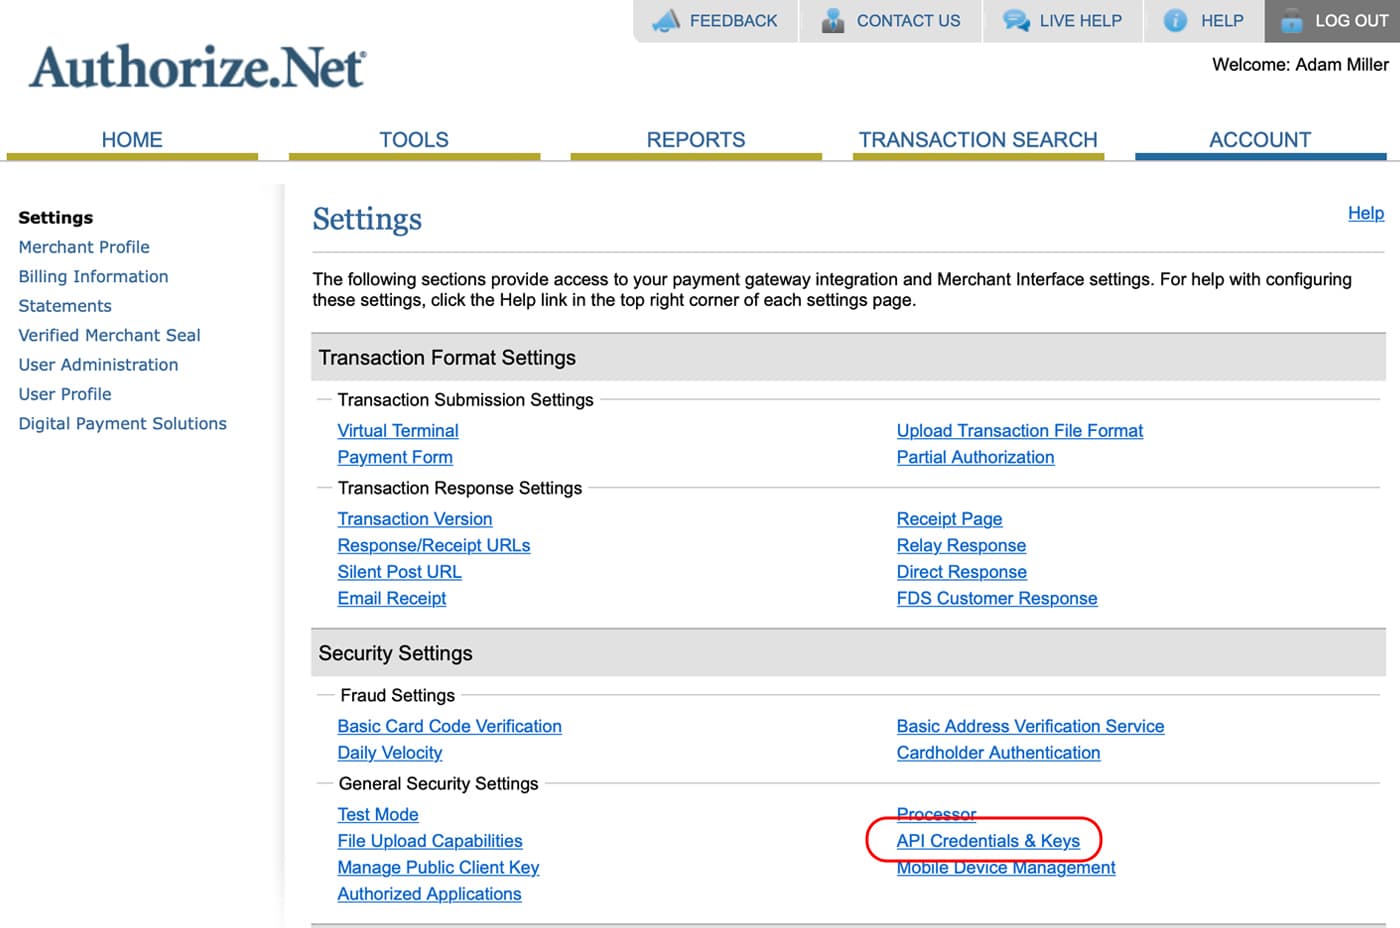
When a user logs into Authorize.net there is a section on the main menu under the Account tab entitled, "Settings". Click Settings and you'll see Security Settings as shown below. Inside this area you will see API Login ID and Transaction Key link as circled. The user needs to click this link and follow the steps on the page in order to generate an API Login ID and Transaction Key. Please email the API Login ID and Transaction Key directly to Loyal Patron at support@loyalpatron.com to request direct funding configuration.
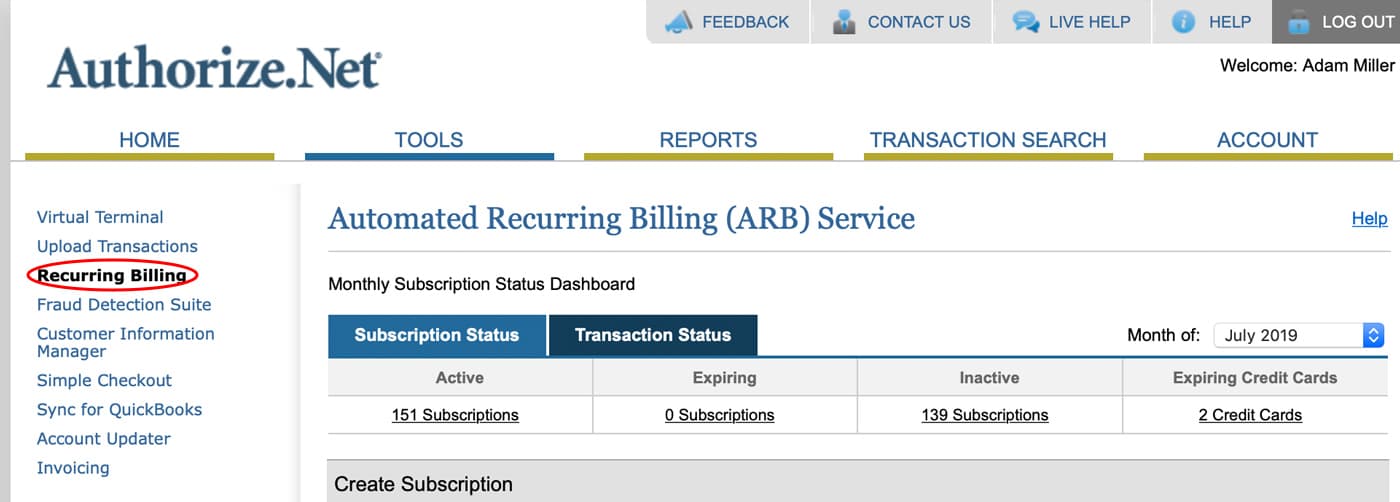
Enabling Automatic Retry in Authorize.net
In order to properly handle reporting of Membership Auto Pay declined transactions received from Authorize.net, we recommend turning on Automatic Retry under Recurring Billing inside your Authorize.net account. Here is a screen shot of this feature, which is accessible from the Recurring Billing tab in main menu navigation.