INSTRUCTIONS FOR CREATING DIGITAL COUPON TEMPLATE
This article includes helpful instructions for how to customize the default digital coupon template on your account OR create additional customized templates you can link to specific digital offers inside the platform.
The Digital Coupon Template is the wrapper that displays your digital deal offers on mobile devices. Your template contains background images and photos. It also contains very important fields in curly {brackets}. These fields do important things like display your offer headlines, expiration dates, social tags, phone and website links automatically. As such, please take care to avoid erasing any fields in {brackets} so they can do their thing and pull values from the database automatically across all of your linked offers. This article includes helpful instructions for how to customize the default digital coupon template on your account OR create additional customized templates you can link to specific digital offers inside the platform.
This video has no sound. It is best viewed in full screen.
Step (1) Login to the Back Office.
You’ll need a user profile with EITHER Administrator or Marketing security clearance as configured in SETTINGS > User Accounts.
Step (2) Open Digital Coupon Templates.
The Digital Coupon Templates page is available in the main menu navigation under MARKETING. Your default template will display on screen but you can open other created template(s) by clicking the Load Template button or creating a brand new template using the Save> Save as New Template button.

Step (3) Delete the {Logo} Tag Row (Recommended).
The {logo} tag automatically displays a .png version of your logo we probably uploaded for you during account creation from SETTINGS> Business Profile. However, in most cases, when doing a customized template, users prefer to add their own image which includes their logo. If you’re not planning on adding a customized image with your logo embedded you can skip this step and leave {logo} row untouched.

Step (4) Add a Custom Image
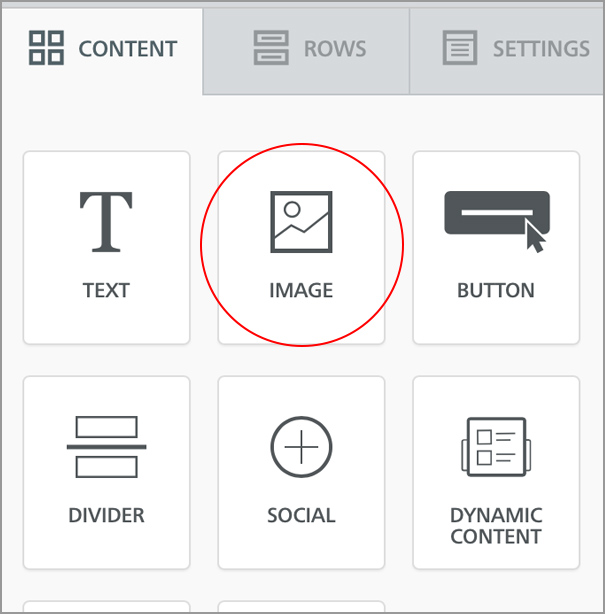
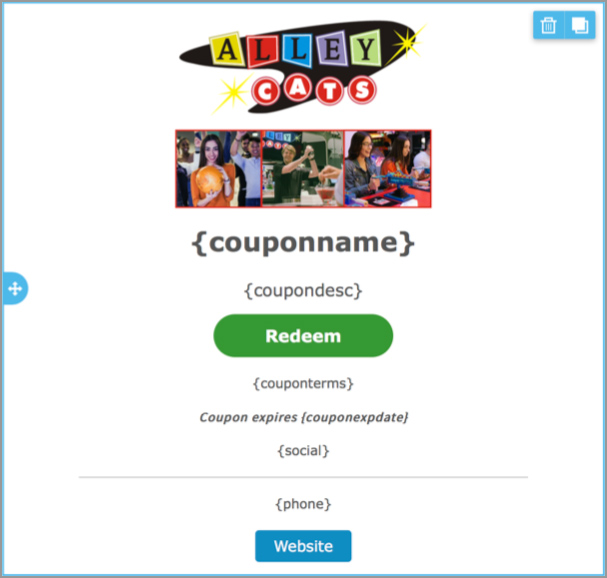
Select the CONTENT tab on the top of the toolbar in the right margin. Select and drag with your mouse, the IMAGE block, and drop it at the top of the template editor (replacing the logo tag you deleted in Step 3). Select Browse and upload the custom image you created from your computer. Alternatively, you can select the Search Free Photos button and use the search box to locate an image from the royalty free photo library. Your screen should look like the image shown below on the left.

TIPS for creating a custom image.
- Design an image that is 500px wide by 400px high. Generally the image will consist of your logo and any other images you want. See below sample.
- Save as .png with transparent background.

IMPORTANT: If using a custom image, you must change the content properties of the image. Do this by turning off the Auto Width button and changing the percentage to 55%.

Step (5) Apply Custom Background.
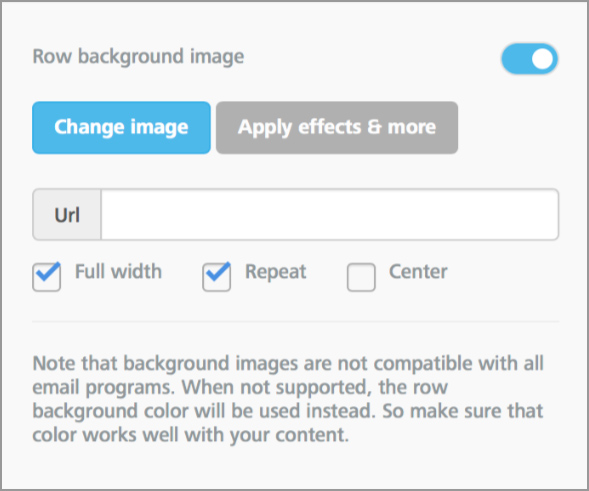
You can change the background of your template by clicking the outermost blank space on the main template screen (as far to the right as possible within the main template editor window). You’ll know you clicked correctly if you see the following options below display in the toolbar along the right side margin.
You can simply select a solid background color by changing the row background color and the content background color in the row properties to the same color.

Creating a Custom Background. Turn on the row background image button and check the Full width and the Repeat Options. Select the Change Image button and upload and insert your custom background image or select one from the Search Free Photos button.

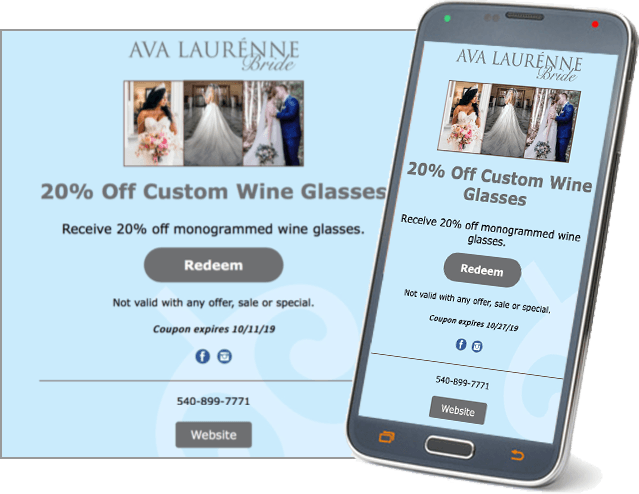
Example Custom Templates:
Your customized digital coupon template(s) can look as classy and snazzy as your creative imagination. Here are some examples of how the template can look when patrons access your digital coupons offer(s) from their mobile devices.


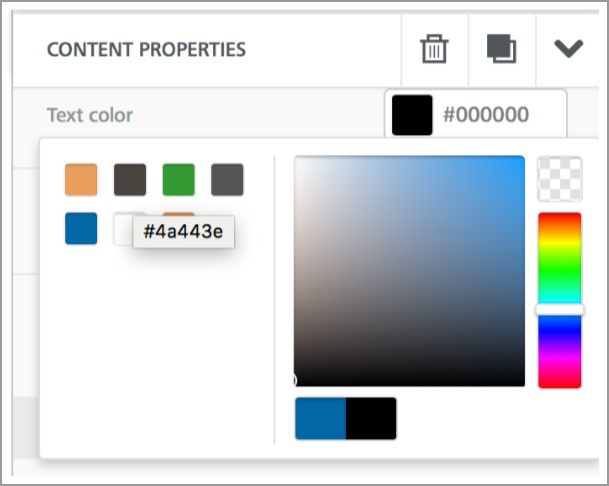
Step (6) Changing Text Colors.
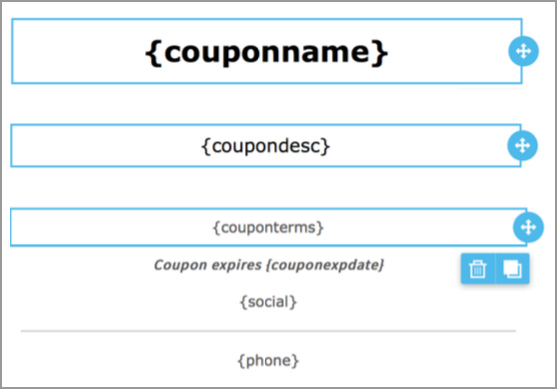
All the tags in curly {brackets} invoke important commands and display the correct values automatically. For example, the {couponname} tag displays the headline of your digital coupon offers (e.g., Buy 1 Get 1 Free, 20% Off Total Bill, Comp Glass of Wine). PLEASE do NOT delete these tags unless you are a very experienced user and have special reasons to do so. Click the cell row with {couponname} and select the desired text color in the editing toolbar. Follow these steps for the rest of the {tags} in the template.
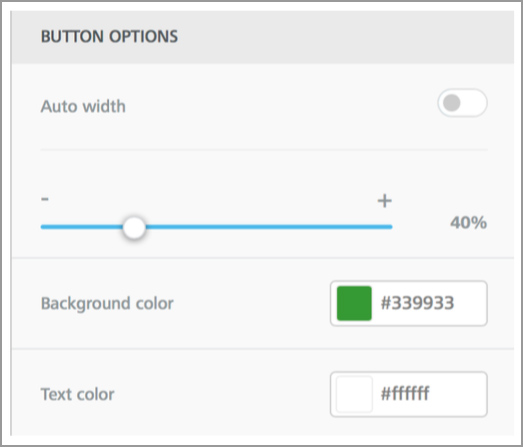
Step (7) Changing Button Colors.
Click the cell row with the Redeem button and change the background color and/or text color in the Button Options from the toolbar editor. Follow the same instructions for the website button. Please not DELETE the REDEEM button or try to create a brand new button due to this button’s special properties that supports trackable redemption of all offers linked to this template.

DO-OVER TIP:
If you accidentally delete the all-important Redeem button and/or tags inside those curly brackets you can always start with a clean slate by clicking the Restore button at the top. This action will restore the original default template allowing you a cosmetic do-over.